Actor importer
Actor Importer allows you define a library of blueprint actors from within your project that you can then import and place in your level during runtime.
Enable Actor Importer
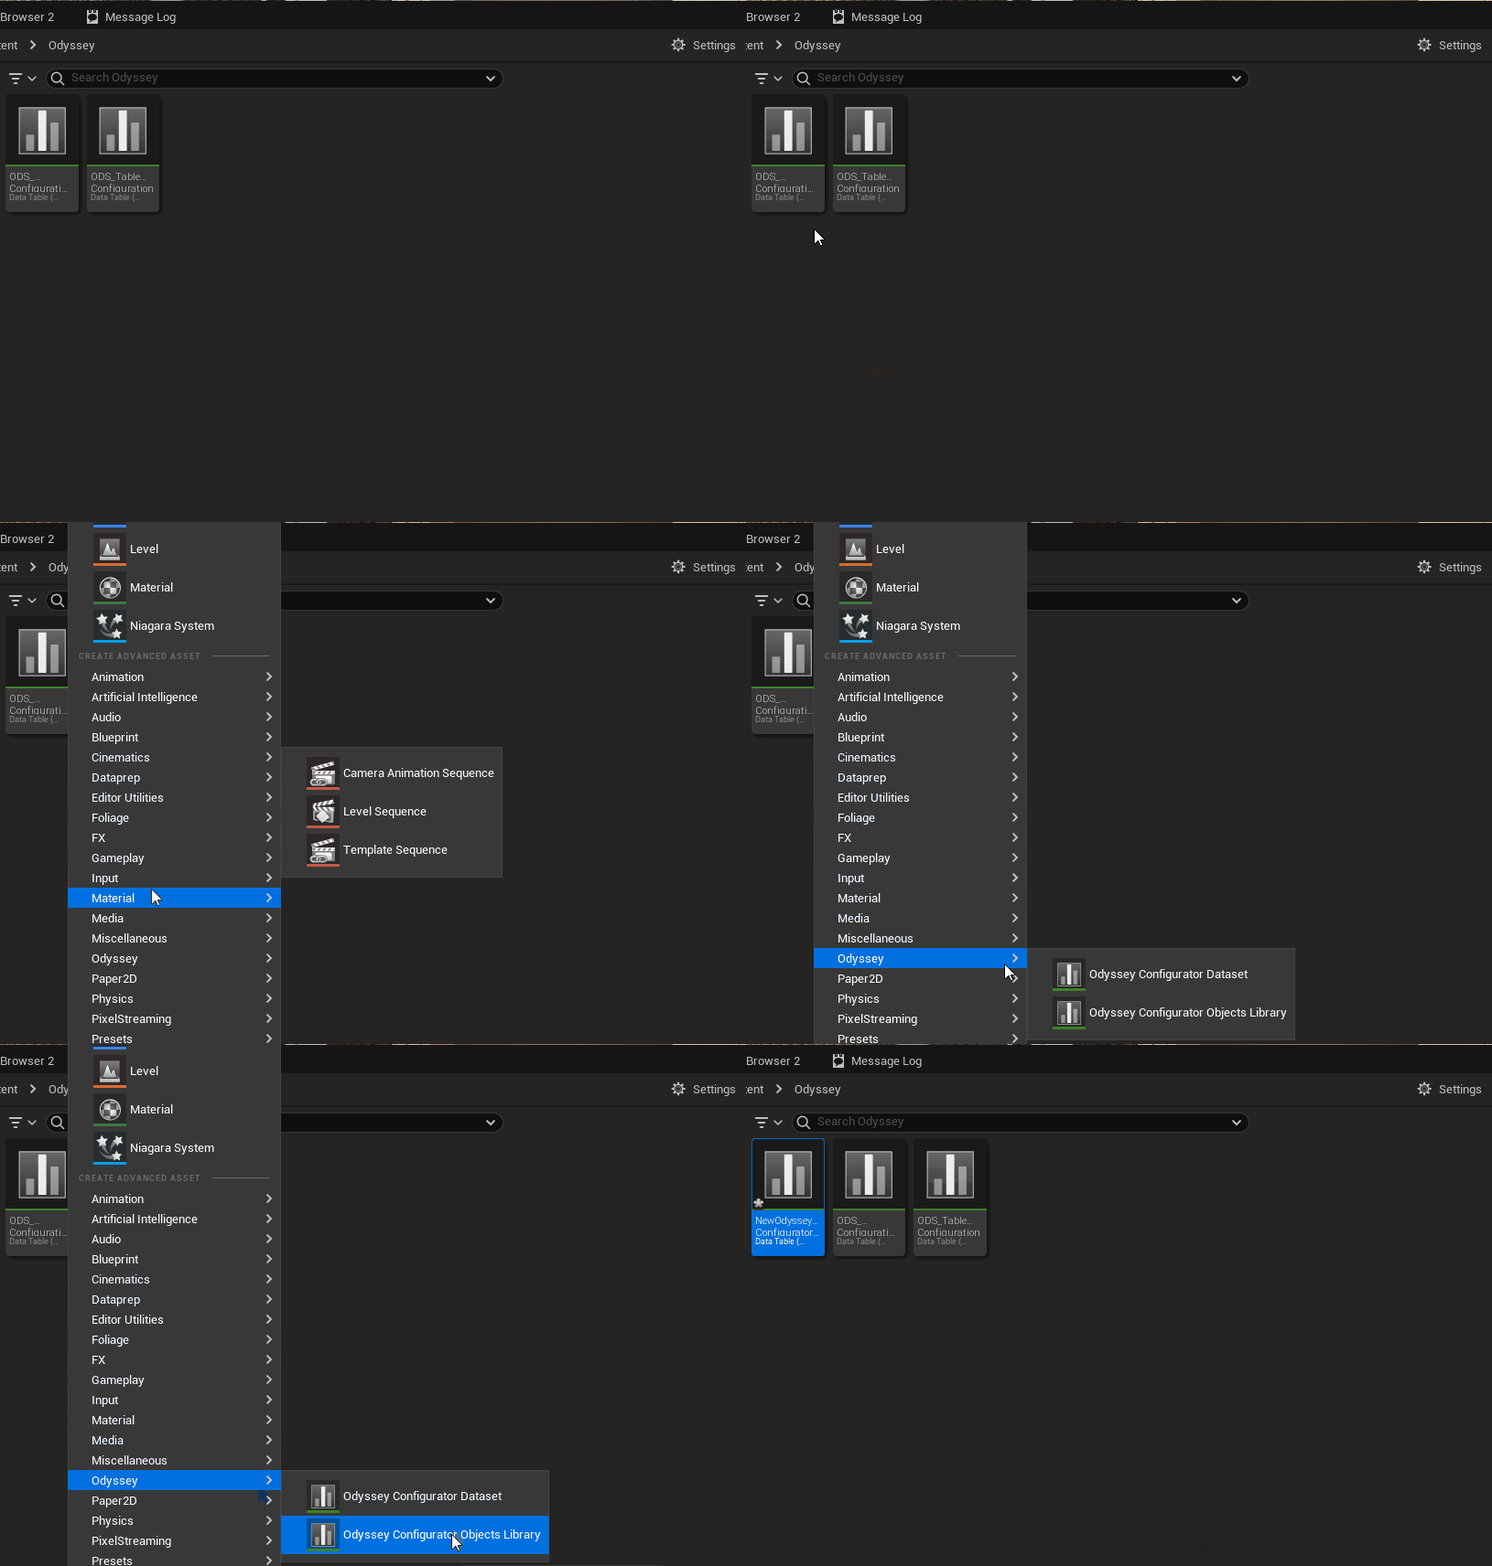
Create a new
Odyssey Configurator Objects Libraryasset in your Content Browser.

Find the
OdysseyConfiguratorRegistryActorinstance in your main level (added in Quickstart). In the Details panel, under Odyssey -> Configurator Objects Library, add your Configurator Objects Library asset.

Add an actor to your objects library
To create a new importable actor, create a new blueprint of class
OdysseyConfigurable.You can also reparent an existing blueprint class to
OdysseyConfigurable.
Make sure the pivot of your custom actor is in the middle of its bounds, otherwise the runtime import drag functionality will break.
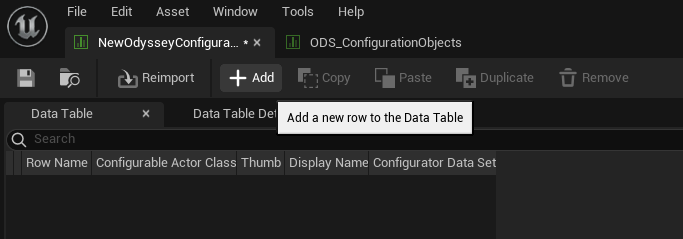
Open your
Odyssey Configurator Objects Libraryasset.Add new row (with the following
+Addbutton) and select it:

Fill the row data:
Set
Configurable Actor Classto your actor blueprint.Set
Thumbto a public image URL you want to show in the menu.Set
Display Nameto the name you want to show in the menu.
🎉You'll now see your actor when you navigate to your Realtime Configurator menu in your project space.
Last updated