Avatar Blueprints
The following blueprints are available if multiplayer and Odyssey Avatars are enabled.
Odyssey Avatar Teleporter
The basic tool to use to integrate the teleporting into a project is by using theOdysseyPlayerTeleportervolume class. To set up a teleporter in your level
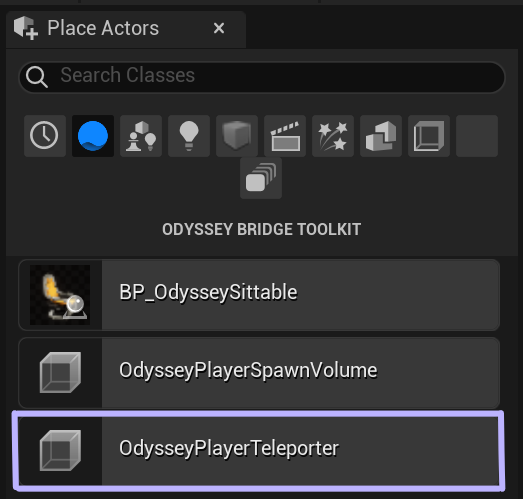
Open the Place Actors tab
Find the OdysseyPlayerTeleporter class

Drag 2 instances of this actor to your level (let's call these instances A and B)
Select instance A and set its Destination property to instance B
Select instance B and set its Destination property to instance A
Properties
Teleport destinationIndicates the destination of the teleport instance. This property can be left empty if the teleport instance is only a destination. This feature can be used to create one-directional teleporters. Multiple instances of the OdysseyPlayerTeleporter can point to a single destination as well.Spawn rotationindicates the rotation of the avatar after spawning at the teleport instance location.OdysseyPlayerTeleporter volume can take any shape.
Odyssey Sittables
The basic tool to use to integrate the sitting functionality into a project is by using the BP_OdysseySittable blueprint actor. To add an Odyssey Sittable to your level:
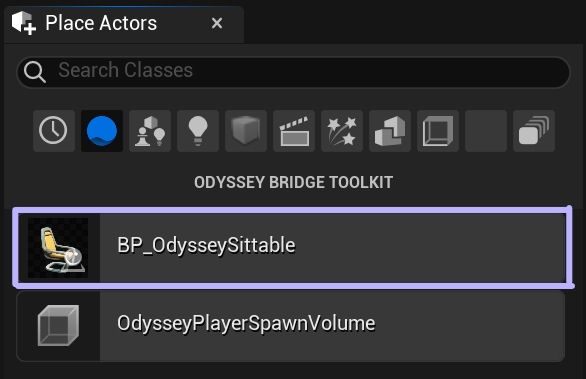
Open the Place Actors tab
Find BP_OdysseySittable

Drag it to your level
Select the new instance
In the actor's Details tab, select the Static Mesh Component
Replace the static mesh with a mesh of your choice
📘
Static Mesh requirements
The mesh needs simple collisions built and its Collision Preset set to BlockAll
The mesh cannot have Nanite enabled (as this breaks the interact hover effect)
OdysseySittingSpot component
This component controls how the avatar is attached to the seat.
Properties
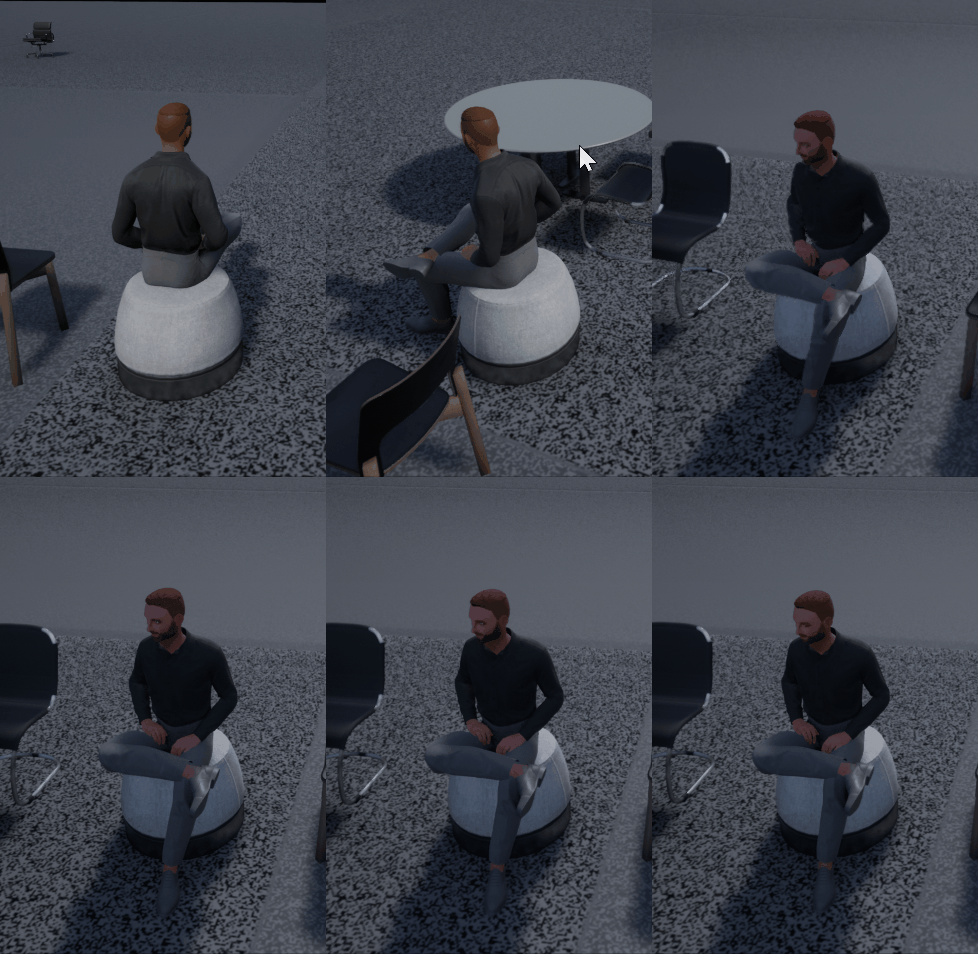
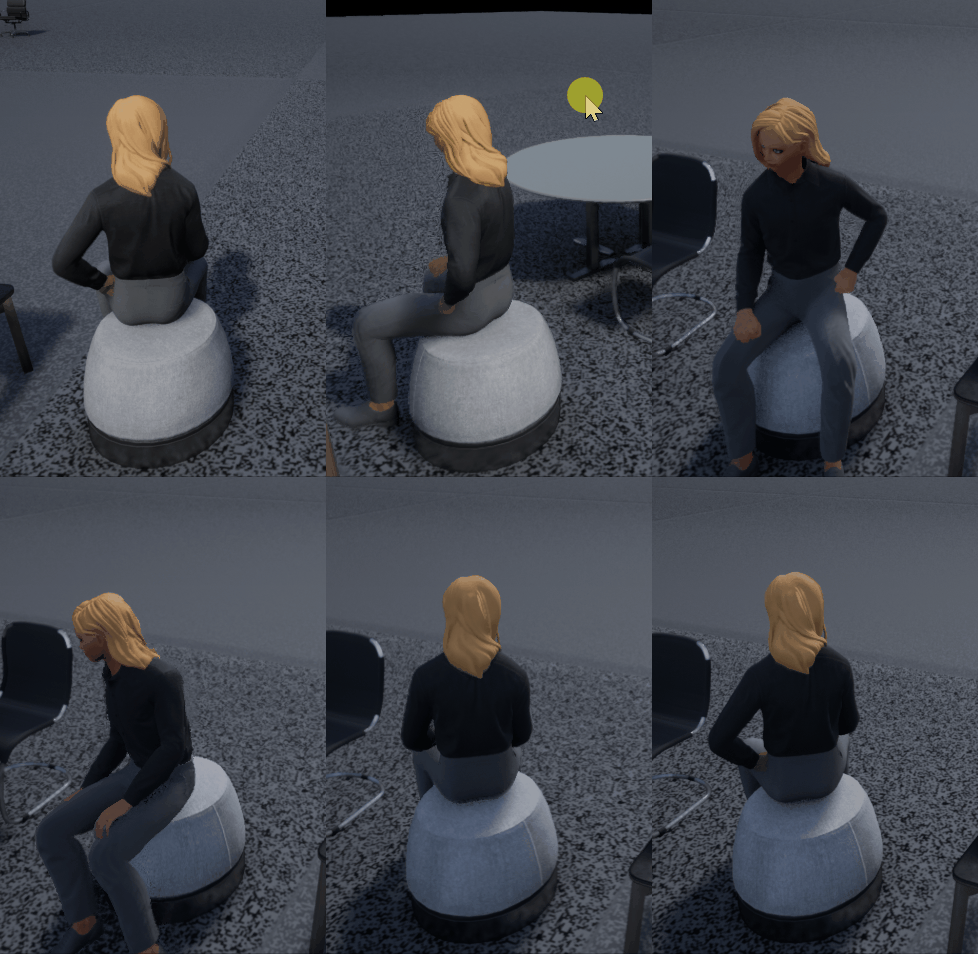
Allow character rotationWhen this property is toggled on, sitting avatar will rotate in place to follow camera direction. When it's off, the sitting avatar will always face the direction indicated by the blue arrow.


Last updated